Fran's Rose Jewelry BoxNarra and Maple with Maple, Poplar, and Padouk Inlay Fran's box is, in my opinion, my best overall work so far. Although I thought about making a box for her birthday last May, I waited to make her box until I had explored the art of making boxes and reached a reasonable level of proficiency. Much of what I have learned so far has been neatly and succinctly summarized in this, Fran's Christmas present for 2002. 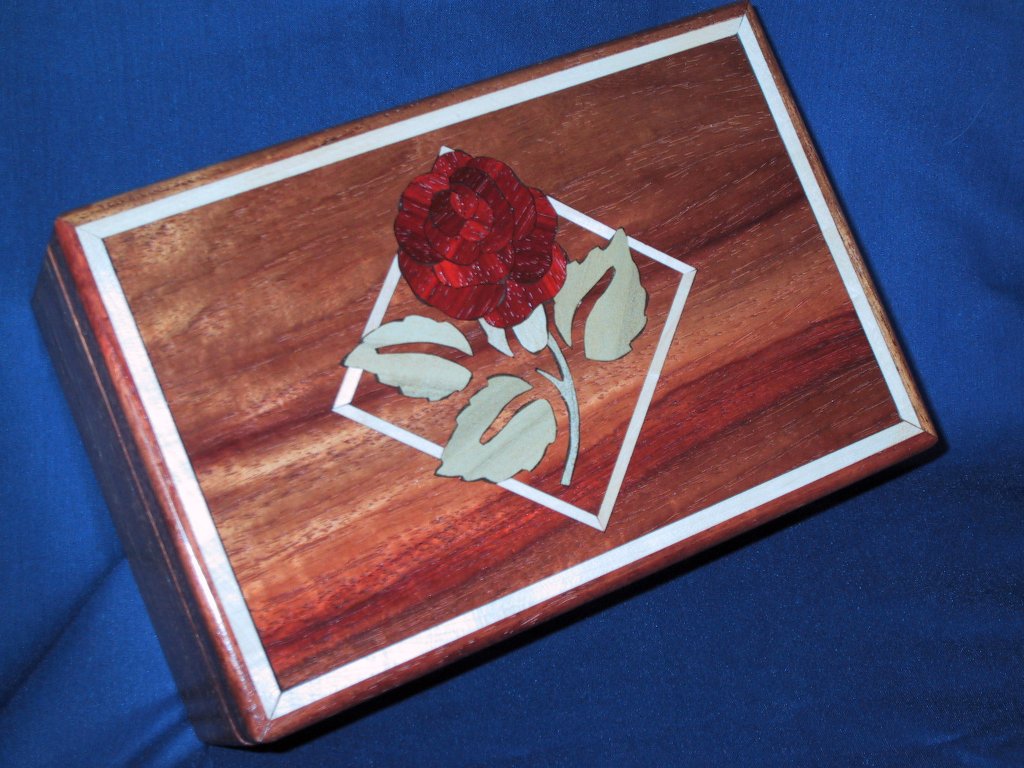
I wanted something enduring, an image who's value would last. So I chose this classical Rose, reminiscent of so many things, set in a modern geometric framework. The box itself is made from some Narra that I found. Indonesian Narrah presents a simple and warm, yet complex feeling, works wonderfully and finishes like a dream. The rectangles are Maple, which is white and somewhat figured, the leaves are some Poplar with a light green tone, and the rose itself is made of South American Padouk, each pedal radiating outward grain variations. The key to this box, tho, for me, is the construction wherein an elegant simplicity of design leads to the nice framed inlaid top presentation. I start by laminating (gluing together) 1/4" planks of Narra and Maple for the front, back, and sides; the darker wood will be the outside, and the lighter wood will be the inside (and the "frame" on the top). I then cut the mitred front, back, and sides from the assembled planks. 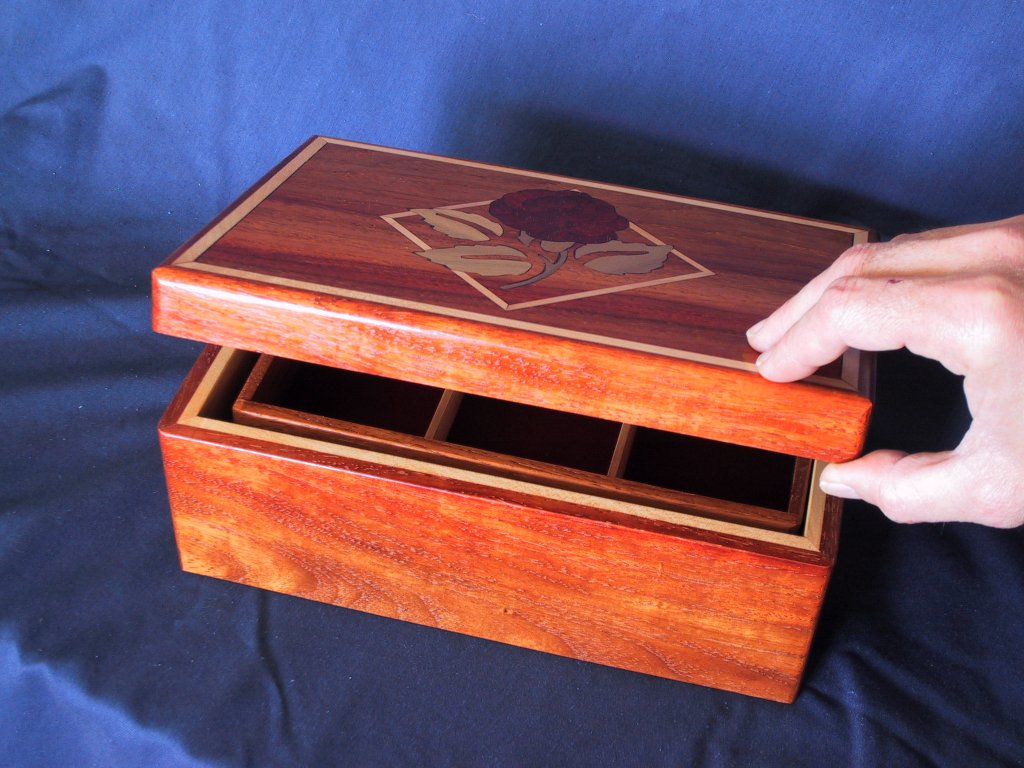
I then cut a 1/4" dado (groove) 1/4" from the top and bottom of the inside of each mitred piece (front, back, and sides). Into these grooves you losely fit two pieces of the inside wood (maple). They need to be loose so that there is no pressure when you bring the corners (mitre joints) together. Dry fit everything till satisified and glue the basic box together. This leaves you with a nice box that allows for a 1/4" inset top, and will have a 1/4" indented bottom. One can then cut the top to fit the top inset. Did I mention that the very first thing to do is select the nicest piece of wood to become the top? Be careful because you are now cutting the nicest piece of wood on the box. I cut it oversized in this step and will belt-sand it to fit after I do the "inlay". I then carefully cut the basic pattern out of the top, saving the the "inner" Narrah cutout for futher working. This was the hardest cut on the box because I needed to keep the inner square of Narrah intact, so that the original cutout section will match the rest of the top grain. This design uses a "cutout" approach which eliminates time consuming routing on the project. And using the scroll saw gives nice sharp corners that you can't get when routing with a rotary tool. After that basic outline is cut, cut the inlay pieces and sand them to fit into the outline. The pieces are a bit thick in this case, 1/4" Poplar and Narrah, but the rose is 1/8" Padouk on a separate 1/8" inset of maple (the rose petals are too detailed to work out of 1/4" wood). My technique in general for getting the image onto the wood is to get the design onto the computer so that I can print multiple identical images. Print out copies and bond them to the wood with temporary adhesive. Then cut the outlines out on the scroll saw. Later sanding will remove any leftover paper and adhesive from the pattern. I usually get the pieces fairly clean at this stage of the game, dry fitting them till the whole top-inset is ready to be glued. Then I mix some Narra sawdust with some 30 minute expoxy and glue the inset and pieces into the top of the box, using liberal amounts of epoxy to fill in all cracks. Don't worry about the mess that this makes. Epoxy usually gets all over the place at this stage, but since you are using 1/8" wood inlays, there is lots of room for sanding. Let the epoxy dry overnight and then Rough Sand the epoxy off the top till you get an nice looking inlay pattern. I use an older 60 grit pad for the first few cuts because the epoxy quickly uses up sanding belts. As the pattern gets cleaner switch to a finer (120 grit) belt and sand the top and sides nice and smooth. I usually nearly finish sand it at this point with 180 grit, and may use a subsequent application of 5 minute epoxy and a resand to fill in any any bubble holes in the original epoxy. 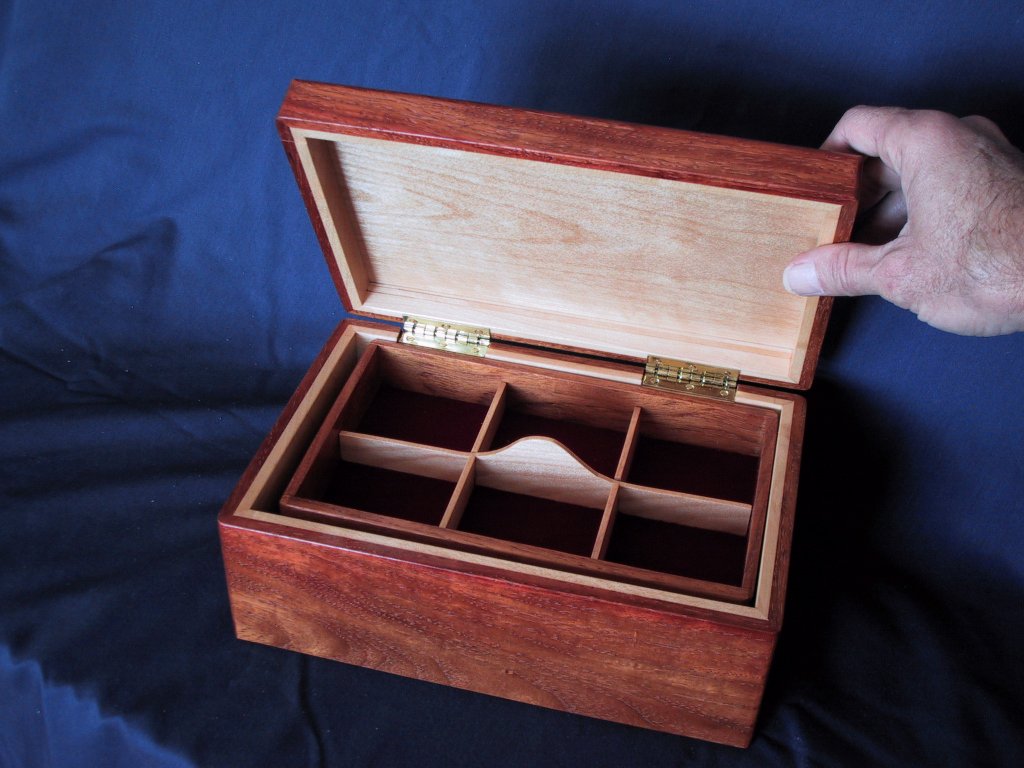
The construction is finished by rounding the top edges on the router table, and hand sanding with 220. When nearly perfect, I cut the top off on the table saw. I usually cut about 1" to 1-1/4" down to give a 1/2" to 3/4" inset on the inside of the top. Once the top is cut off, I then sand all exposed corners to that there are no sharp edges left on the box that will feel bad or splinter. I then cut and drill the hing slots, attach the top and give it a final hand sanding with 400 grit and an extra-fine white finishing pad. This is among my favorite moments. When the box is finely sanded and polished, yet just barely completed. We now get to apply some fine finishing oil. When you apply the oil its like the box is magically converted into a precious object. Before it was nice to the feel, maybe even shiny, but now it glows and the depth of the grain really comes out for the first time. As the oil dries, make sure there are no shiny spots from drops that come out of the grain. I usually rub the box about once per hour as it's drying. After a day or so of drying, I then apply 3 coats of top laquer, rubbing each coat down with a fine finishing pad after an hour of drying time. I like to rub the last coat down as well to remove any little laquer dust motes so that the box is really nice to the feel. The box is then assembled. I use "stop-hinges" that stop the top when open so the box does not tip over. 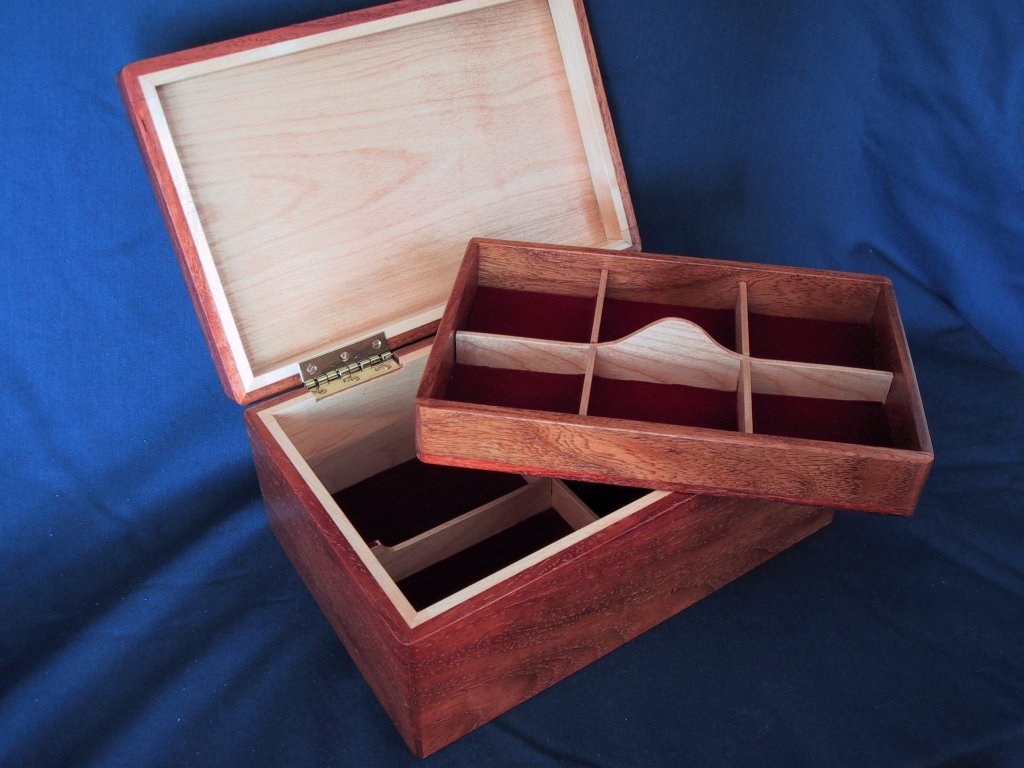
I made a matching tray to fit from Narrah with Maple dividers. The dividers in the bottom "curve" upward to support the tray. The tray, dividers, as well as the inside of the box are also sanded and laquered to feel. The box is lined with red velvet, and little strips of it were used on the bottom dividers to support the top try quietly. 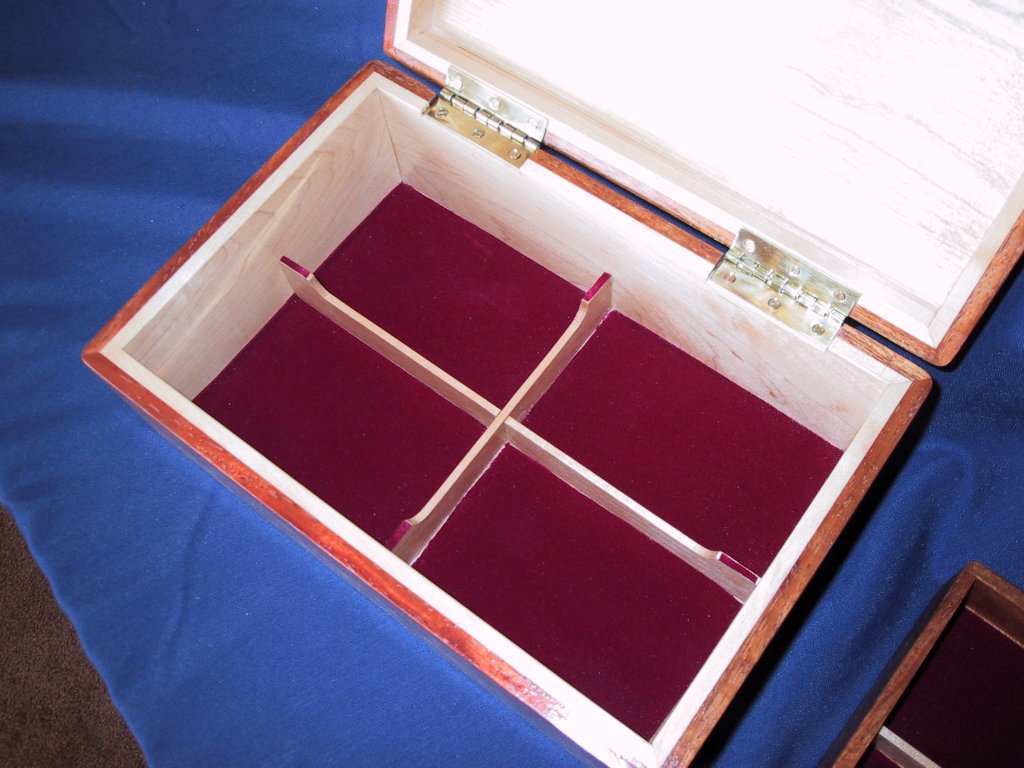
I wasn't able to be with Fran this Christmas, but was thinking about her as I made and sent this box to her. She recieved it and it made me feel good when she told me how much she liked it. |